
How to take attendance in Moodle
Here is a simple way to take attendance in Moodle for live sessions (whether you are teaching on campus or via Zoom):
- Go to your Moodle site.
- In the top-right corner, toggle on Edit mode:
- Scroll to the section where you want to add Zoom (probably the first section) and click +Add an activity or resource.

- Select Attendance

- You can leave all of the default settings, then Save and display
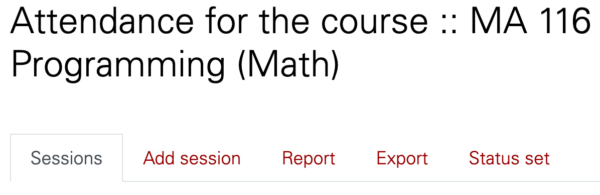
- Click the Add session tab near the top
- Fill out the information (date, time) for your first session under Add session. Do not click Add yet!
- Under Multiple sessions, fill out the information for your course. This will create an attendance for each meeting day. (You can delete extra days when you don't meet, so it's fine to "overestimate.")
- Under Student recording, allow students to record their own attendance, and select random password. Students will be able to mark themselves present (you just write out the random password somewhere). You can also do the QR code option, if you want to display a QR code somewhere for them to scan (via the computer in the classroom, or shared on Zoom). At the end, it should look like this:
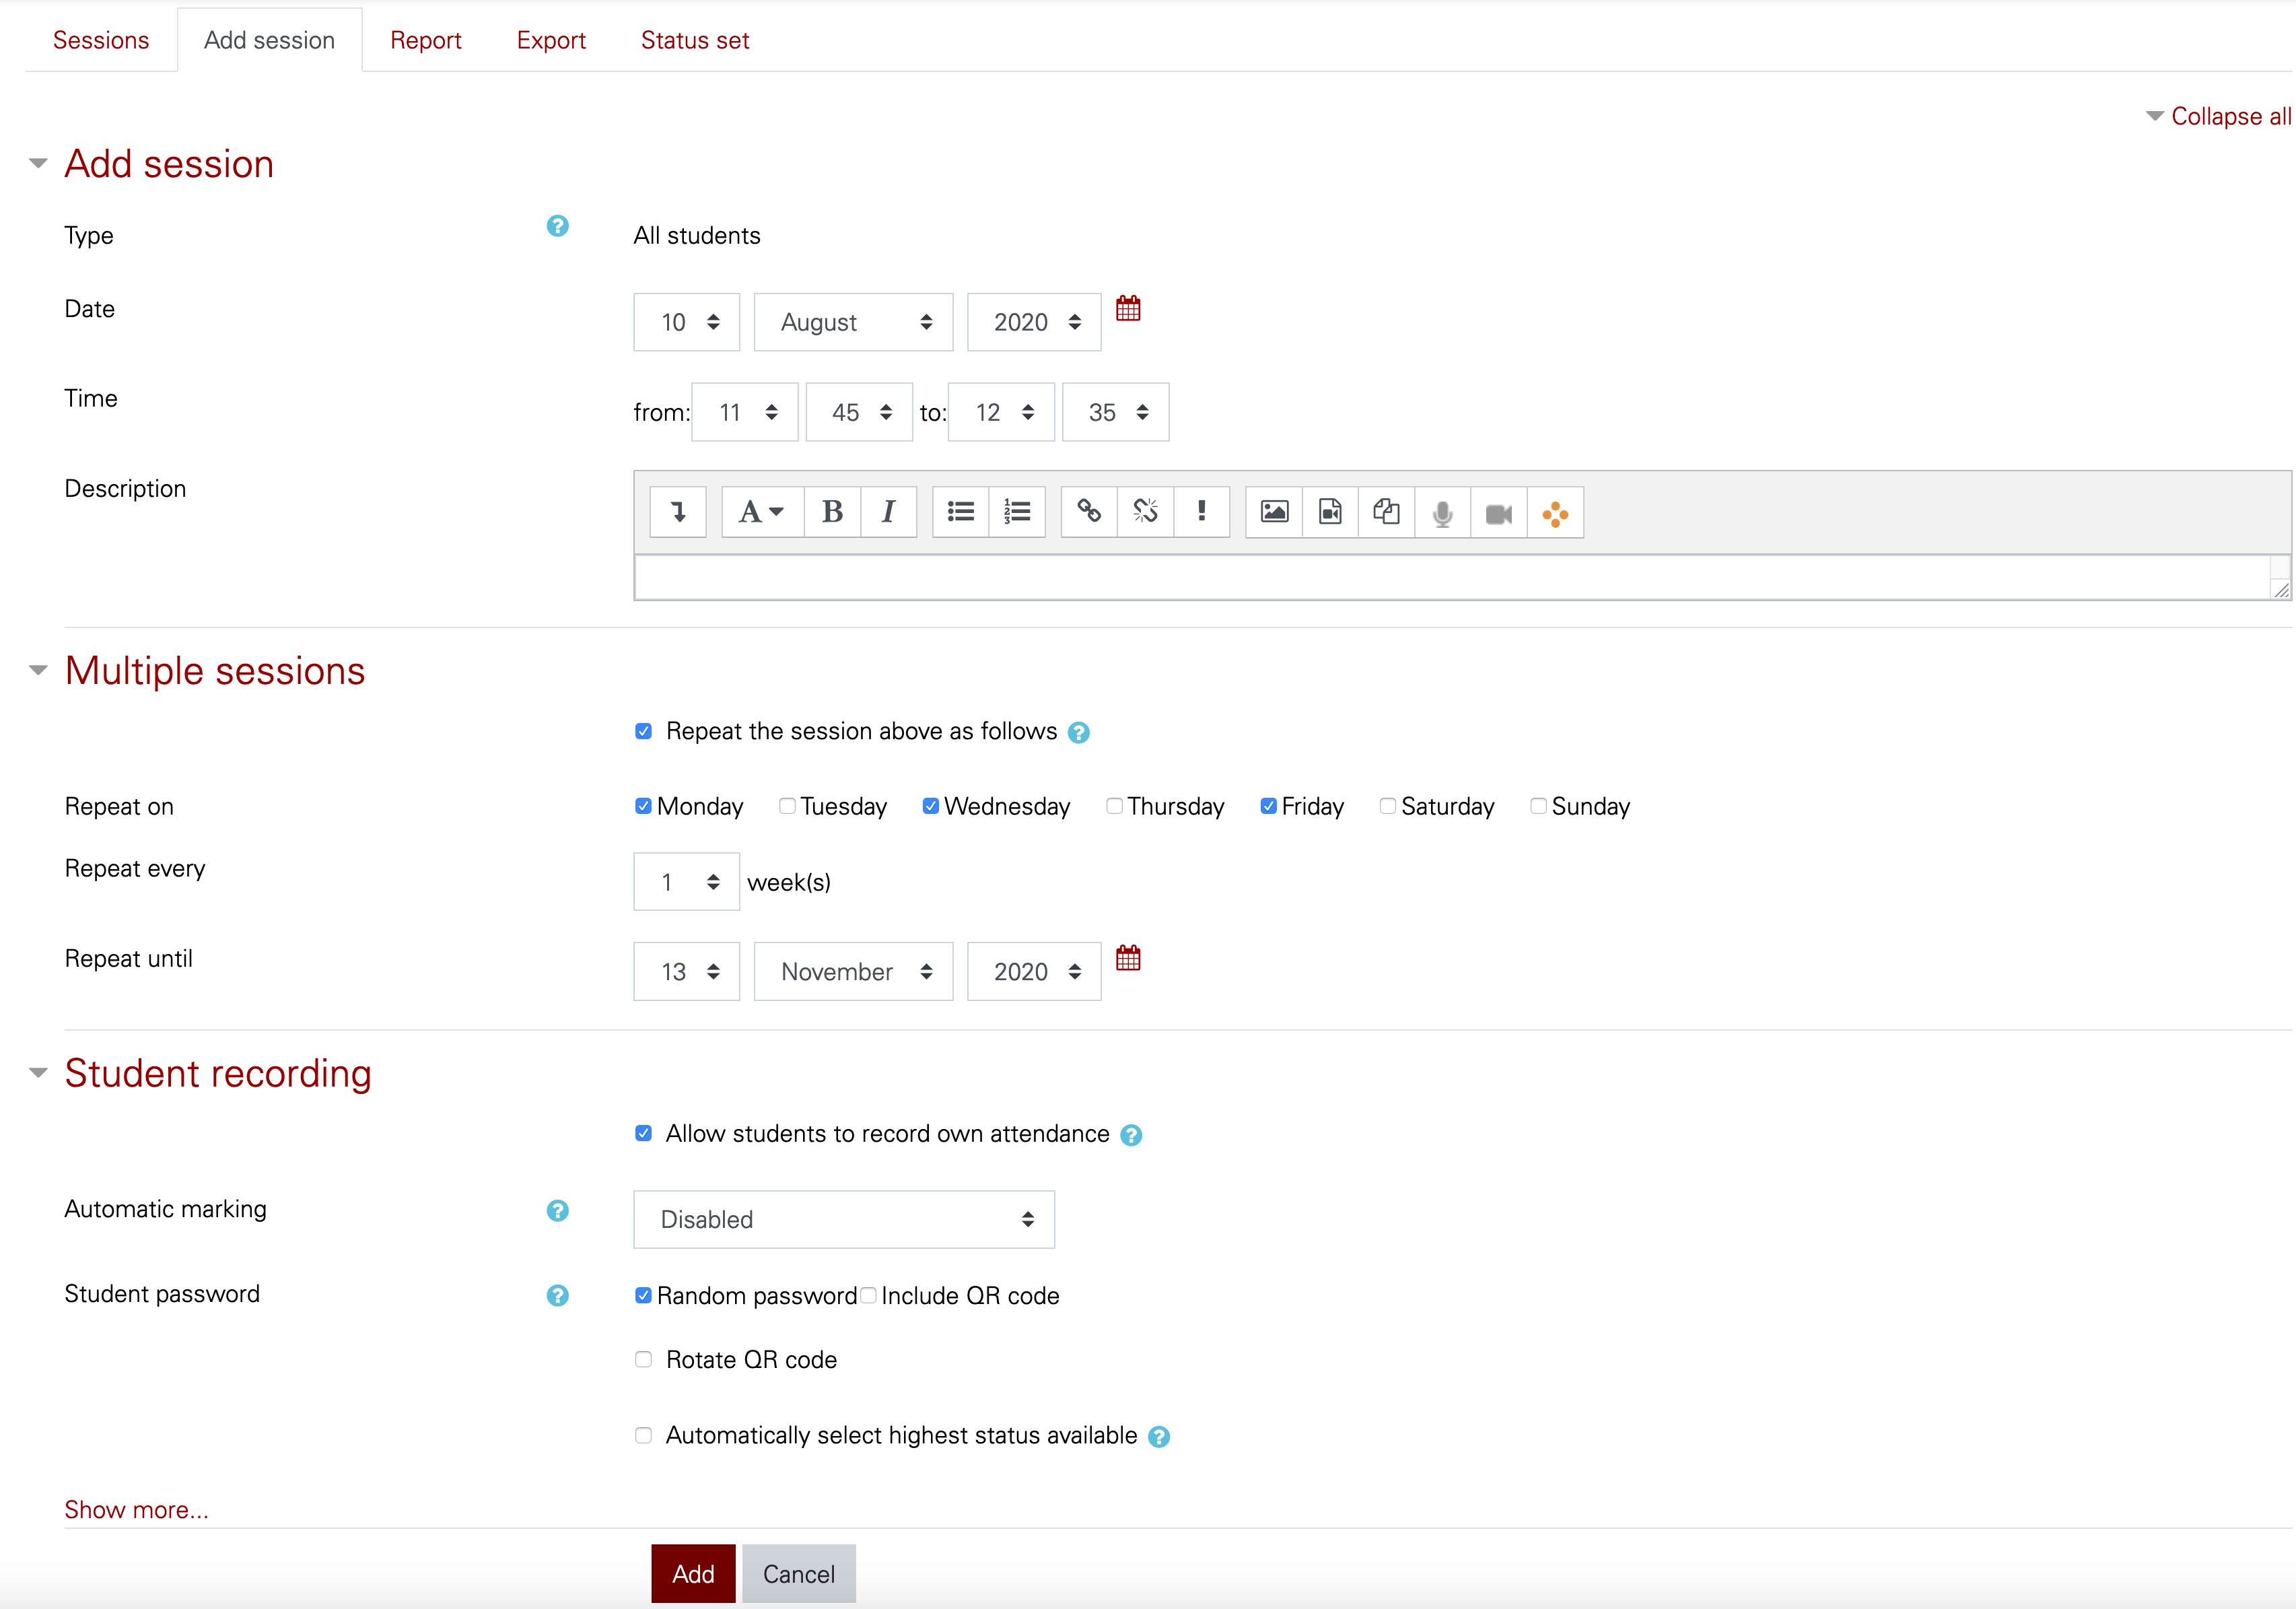
- Then Add.

Under Sessions, you should now see a list of class meeting times. On each day, you can click the Key symbol to get the daily password. You can also click the Play button to manually record a student's attendance yourself.